
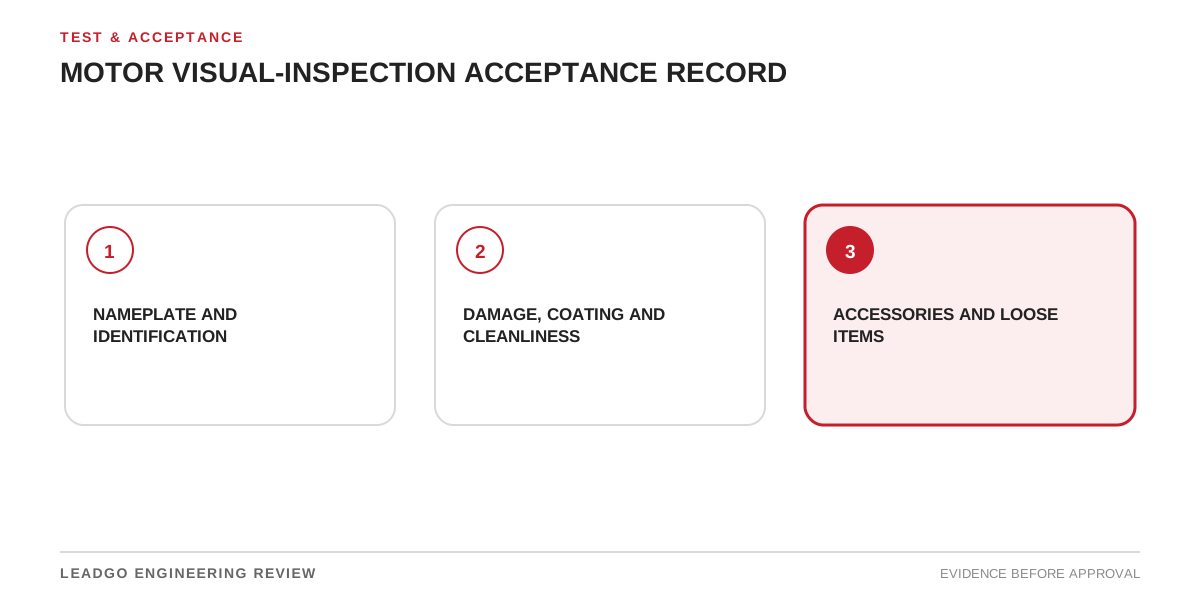
A checklist with every box ticked can still be weak evidence if it does not identify what was inspected. Start with the purchase order, serial or asset number, model, rating and drawing revision, then photograph the nameplate before loose parts are separated from the motor.
Inspect by zone and consequence
| Zone | Look for | Record or action |
|---|---|---|
| Packaging and base | Impact, water entry, tilt evidence, loose restraints | Preserve incoming condition and carrier evidence |
| Frame and coating | Cracks, dents, corrosion, blocked drains, damaged paint | Map location and define repair system |
| Shaft and flange | Corrosion, impact, damaged keyway, missing protector | Protect surface and escalate dimensional concern |
| Terminal box | Seal condition, loose items, damaged bushings, wrong entries | Compare with drawing and packing list |
| Cooling path | Damaged fan cover, blocked fins, foreign material | Correct before energisation |
| Accessories | Sensors, heaters, glands, fittings and labels | Reconcile part numbers and quantities |
| Documents and loose parts | Manuals, test records, coupling parts, special tools | Tie each item to the equipment identity |
Use overview photographs to establish location and close-ups to show the issue. Add a scale only where it is safe and useful. Do not clean, repaint or discard packaging until relevant evidence is secured.
Close the punch list
Each item needs a unique number, owner, technical disposition, target date and closeout evidence. “Accept as is” requires an authorised reason; “repaired” requires a post-repair image or test appropriate to the defect. Keep open items visible at shipment, receiving and installation handovers.
Visual acceptance is one layer of the evidence package. Pair it with the Factory Acceptance Test Checklist and test-report order verification.